Production Rule Slip-Sheet Configuration Details
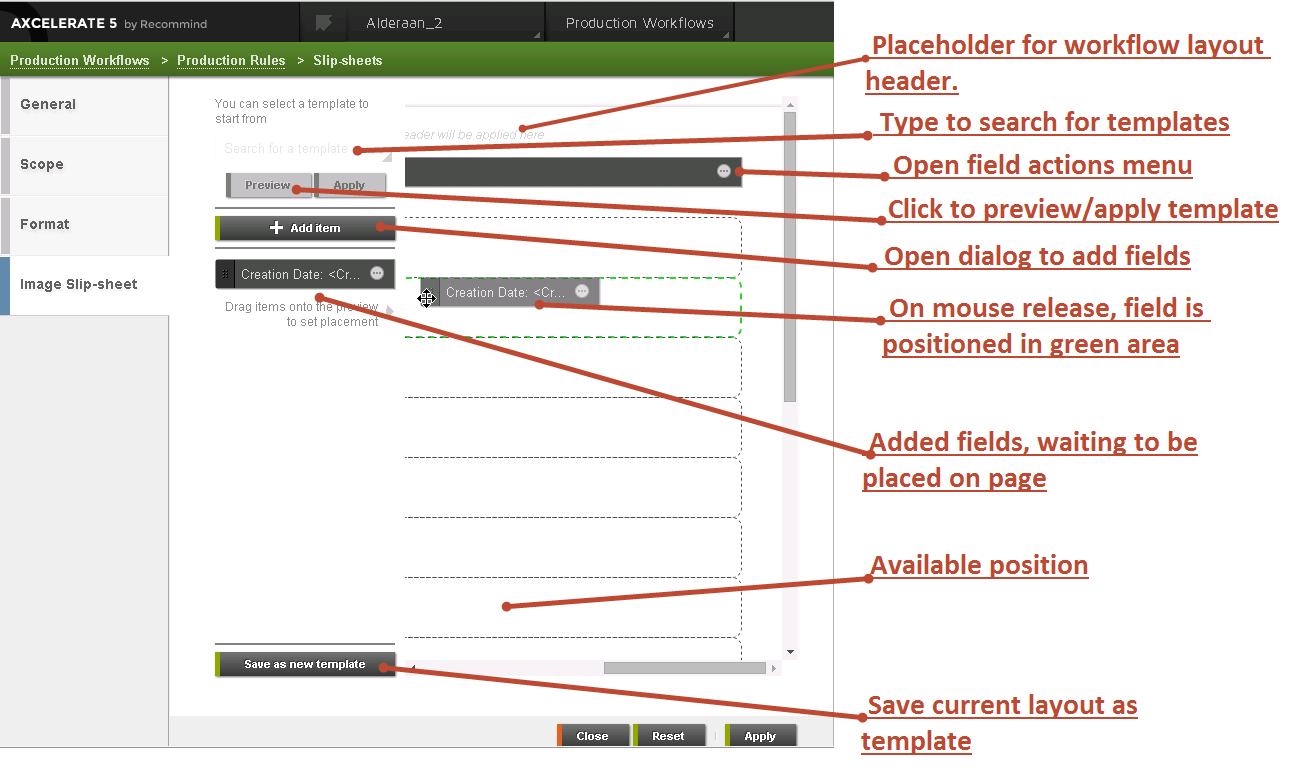
If there are document types that need to be produced with a slip-sheet, you will design the slip-sheet when you configure the production rule that applies to them. Using the interactive preview panel on the Image Slip-sheet tab, you select fields or input free-form text and then place those items on the preview panel.
Note: Production slip-sheets are different than and independent from conversion exception slip-sheets or removal slip-sheets.
To configure the Image Slip-sheet tab of a production rule:
- In the production rule configuration, on the Format tab, activate Images/Slip-sheets and then select Slip-sheets to activate the Image Slip-sheet tab.
- Navigate to the Image Slip-sheet tab.
Note: If a prior slip-sheet was saved as a template, you have the option to select that template as your starting point. This one-time process copies the template settings to the current slip-sheet; there is no permanent link between the slip-sheet and the template.
- Click Add Item. The Add Item dialog box opens.

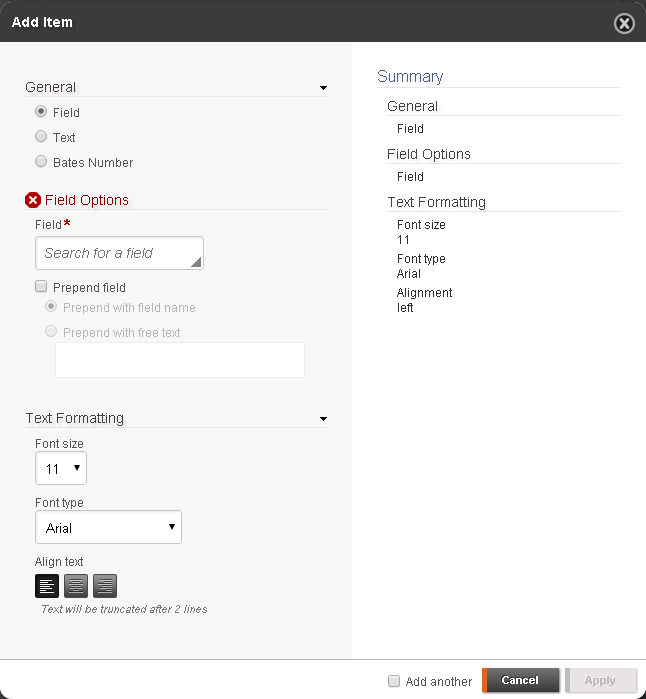
Select and configure the item you wish to add to the slip-sheet:
 General
Choose the type of item to add and then configure the additional settings that appear based on your selection.
- Field
- Select this option and a Field box displays. Use the drop-down list to select the field which contains the values you want added to the slip-sheet.
To prefix the field values with the field name or with free text, activate the Prepend Field check box, then select Prepend with field name or Prepend with free text. If you selected text, input the text in the text box.
- Text
- Select this option and a Text box displays. Input the text you want to add to the slip-sheet, such as Document Produced in Native Format.
- Bates Number
- Do not select the Bates Number option because the Bates number is added to the slip-sheet by the production workflow. If selected here it will appear twice on the slip-sheet.
Text Formatting- Font size
- Choose the text size from the selection.
Tip: Text is truncated after 2 lines. If the item contains a lot of characters, minimize the font.
- Font type
- Select between three typefaces for the text:
- Arial, which is a sans-serif font.
- Courier New, which is a mono-spaced font. It takes up more space than the other fonts.
- Times New Roman, which is a serif font. It takes up less space than the other fonts.
- Align Text
- Select your text alignment preference, that is, left-align, center or right-align.
- Click Apply to add the selected item to the main Image Slip-sheet page.
Tip: To add additional items to the slip-sheet, check Add Another before you click Apply. The current item is added and the Add Item window remains open. When all items are added, uncheck the Add Another box and then click Apply.
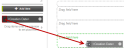
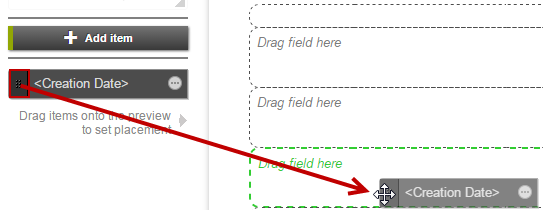
- On the main Image Slip-sheet page, the added items display in a list. To add an item to the slip-sheet, hover your mouse on the left-hand side of the item and when your cursor changes to a four-sided arrow, click and drag the item to the slip-sheet preview.
The preview panel is divided into rows. You can place one item in each row. You see the rows when you drag items onto the slip-sheet preview to place them.
If the content of an item does not fit into one line, it wraps once. If the content does not fit into two lines, it is truncated and the remaining content is replaced by an ellipsis.
Note: To remove an item from the slip-sheet preview, drag it back to the storage area under the Add Item button or click
 and then select Remove. To edit the item, click and select Edit. To completely remove an item from the Image Slip-sheet tab, click and select Delete.
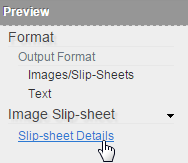
 - Check your work. To preview the slip-sheet as a full page, click the Slip-sheet Details link in the Preview panel.

- Click Apply to save the changes.
If the configuration of the production rule is complete, click Close to return to the main Production Rule page.
Tip: If you expect to later create additional production rules that require the same or a similar slip-sheet, save the configured slip-sheet as a template. Click Save as New Template, give the template a name, an optional description, and click the Apply button.
Production slip-sheet configuration